
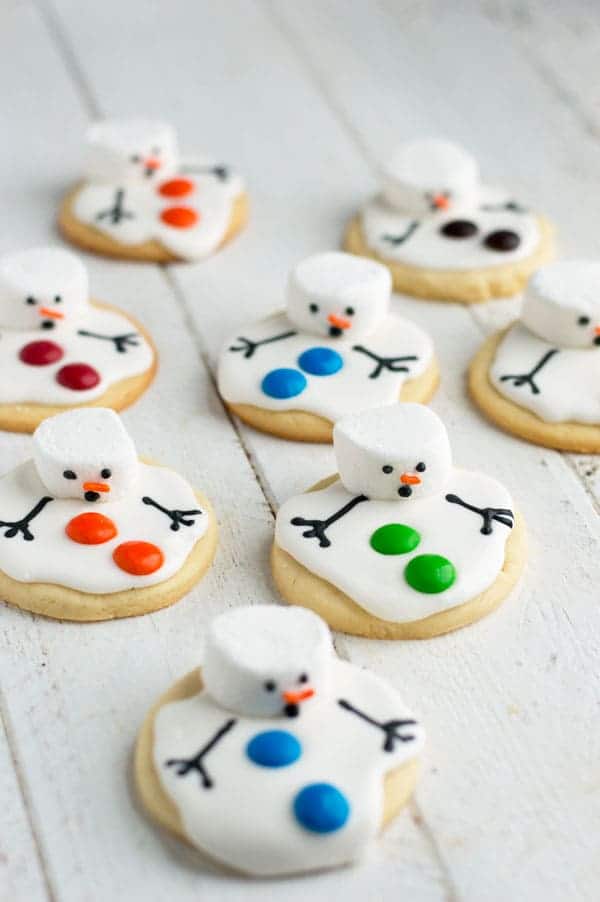
These melted snowman cookies are the perfect treat for a snowy winter’s day when you’re wishing it was spring!

I’ve spent the last two weeks in Virginia hanging out with family and visiting friends. I’m beyond blessed to be able to spend some time with my baby brother before he officially joins the Army and ships out for boot camp! I’ve even met my newest nephew and gotten some good, sweet newborn snuggles in, too!
The best part about ringing in the new year in Virginia? Temps in the 50s.
Granted, it’s been unseasonably warm in Michigan while I’ve been gone too. But it definitely hasn’t spiked up into the 60s so I can walk out the door in a light sweater, that’s for sure! While I do fully expect the snow from our last storm to have melted by the time my plane touches down Thursday night there are in fact tiny snowflakes in the forecast for the weekend.
Boo to that!


But that just makes these snow free days the perfect week for these melted snowman cookies! This is one of those Pinterest recipes I saw years and years ago and have wanted to make for the blog every winter since I started blogging almost 3 years ago. And every year I found a reason to push them off. Until now. And boy am I glad I had leftover royal icing from these Santa cookies so I could finally try these out and get them on the blog for you!
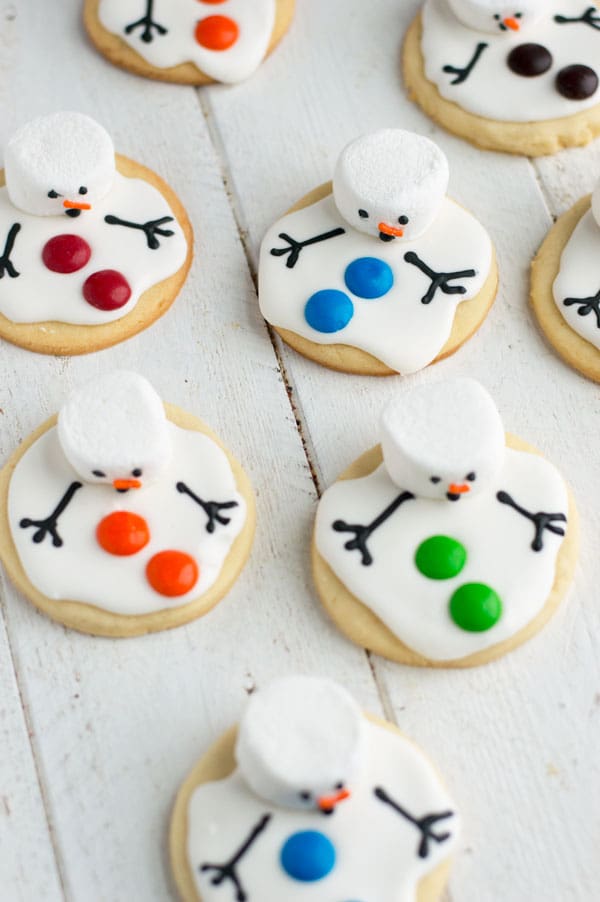
Icing just a bit thinner than I use for flooding so it drips over the side of the cookie and decorated with a big marshmallow cut in half, M&M buttons, and an orange sprinkle for a nose. These sweet melted snowmen are the perfect thing to make with the kiddos on a snow day where you’re trapped inside.
And probably wishing the dang snow would melt anyway!
This is more a decorating tutorial than a recipe because I have eleventy million sugar cookie and royal icing tutorials on the blog already. Feel free to use your favorite royal icing and sugar cookie recipes. Or keep all the neighborhood kids busy with some slice and bake and store bought icing. Whatever floats your cookie boat.
I’ll just be over here eating one of these babies, enjoying the last few days of my mild-weathered Virginia vacation, and praying for spring!


Melted Snowman Cookies
Ingredients
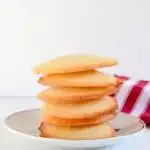
- 12 sugar cookies
- 2 cups royal icing
- 6 marshmallows,, cut in half
- long orange sprinkles
- M&Ms
- black gel food color
Instructions
- Take 1/2 cup of your royal icing and dye it black using black food coloring. Once you reach your desired shade of black, thin to 15 second consistency. Add to piping bag and snip off a small tip.
- Thin remaining white icing to 10 second consistency and add to a piping bag, snipping off a small tip.
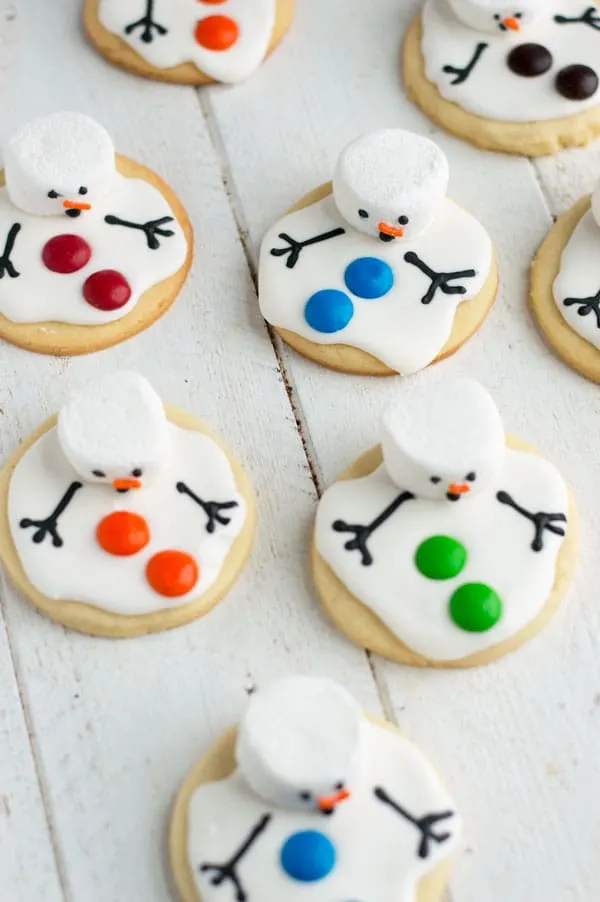
- Frost cookies with white icing allowing it to drip over the sides.
- Immediately add cut marshmallow towards the back of the cookie Add M&Ms and then pipe black stick arms "floating" out away from the head while icing is still wet.
- Allow the cookies to set for 20-30 minutes before decorating the face with two eyes, a surprised 'O' for a mouth. Use some leftover white icing to attach the orange sprinkle nose.


Dawn
Monday 11th of January 2021
I always let my flood dry under a fan overnight. Will that dry out the marshmallows? Please advise me how you dried your cookies! Thank you so much!
Bridgette
Wednesday 11th of December 2024
@Meaghan, hi! I chose to make these for a church function and I’m worried about how to store them or how long they can stay out before the marshmallow hardens? How long in advance can I make these? Thank you!
Meaghan
Tuesday 12th of January 2021
Hi Dawn, I let them dry overnight at room temperature. If you want to use a fan, the marshmallows should be fine since the cut side isn't exposed to the air.
Erica
Wednesday 9th of December 2020
Have you ever froze these? We made them wAayyyyyy too early and haven’t finished the rest of our goodies to hand out. I know sugar cookies freeze well but I’m worried about the marshmallow
Meaghan
Tuesday 15th of December 2020
I haven't tried freezing these before. I think the marshmallows would be ok as long as you let them thaw completely in the fridge and then bring them up to room temp before eating.
Sara
Thursday 28th of November 2019
Love these! Yours are beautiful, mine were not so polished but the family loved them. I saw them on a Facebook post which brought me to your blog. So glad I found it, I'm really inspired now. Thank you.
Richa
Wednesday 8th of February 2017
These are adorable! And so easy that even a non-decorator like me can make these. Thanks for the awesome tutorial!
Meaghan
Monday 13th of February 2017
These are definitely so easy the non-decorator in you or the kids can do them!
~Meaghan
Rosemary
Saturday 4th of February 2017
These are so darn cute. I love them.
Meaghan
Saturday 4th of February 2017
Thank you, Rosemary!
~Meaghan